Let's back up...Here are the before pictures of my cabinets.
I removed the doors and hardware, scrubbed things down(eeewww major grease build up!)
Then I sanded, primed and painted the upper set of doors.
No doors!
The porch turned into my work room, it really was convenient to be able to have a closed in place to set everything up and be able to just leave it until I was done.
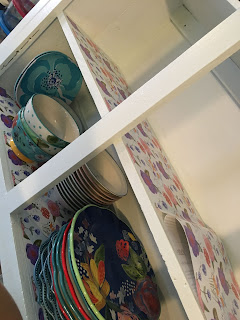
It's rather amazing how much you can fit into just one section of cabinets....I like dishes.
After getting the first set of doors done and that one section of cabinets, my younger sisters came up to spend a week. They were a huge help. They helped remove the next set of doors and hardware, entertained Buirlen A LOT, and helped with some sanding and painting as well.
The old dry wood soaked up a lot of paint and I found that water stains just popped right through as the paint dried. As I went along, we decided to do multiple coats of primer before paint.
After the cabinets themselves were done, I got back to the doors and drawers...As I worked on this I became very grateful that the doors didn't have any decorative grooves in them, there was enough grooves and corners as it was and it felt pretty tedious at times.
Drawer faces.
They were fun to play in.
My kitchen is yellow, but there are 3 sections of wall that are paneled in some cheap wood paneling on the lower half. Well, somewhere along the way of this project, I decided that I better paint them as well because they would look a lot better if they matched the cupboards. Oh the snowball effect!
So I pulled furniture away, taped everything off and painted these as well. There is also a small section in the hallway towards the back door.
Wiping down the walls.
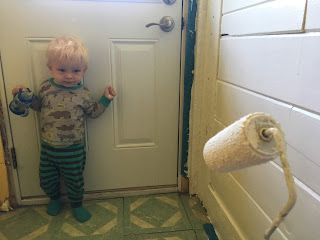
I forgot to take a before picture, but right behind Buirlen is a closet that had old accordion doors. I decided to take them off and replace them with a pretty curtain.
As I mentioned a while back, I ended up using contact paper. I love the pop of color it gives.
The spice shelf above the stove.
All the drawers
The cabinets
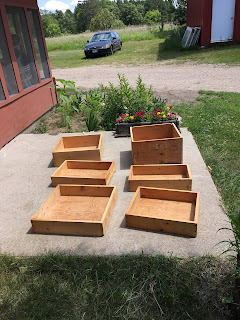
And I decided to do the plant stand too. I had painted them blue last year and the tops were starting to scuff up, this was a good way to freshen them back up.
All of this originally started with me wanting new cabinet hardware. Well, I wanted something with blue flowers on them. I started looking and realized that It was easy enough to find what I was dreaming up in my head, but that it could be as much as $5 for one doorknob....I needed 18. So, I decided to paint my own. We were blessed to be given the doorknobs and new handles for $0 so all we ended up paying for was the paint.
Luke did the spray painting for me.
Blue and ready for the flowers.
After the flowers were on, Luke gave them a coat of clear gloss. Each one is different. A little garden right in my kitchen.
The handles we got had a lovely leaf pattern on them but were bronze, we wanted black. So they got a quick sanding and a coat of paint.
Slowly, slowly, all the different pieces were finished and things could be reassembled.
Luke hung the doors for me.
And put the drawers back together and in.
And like I said earlier, today the doorknobs were completely dry and I was able to put them on. So here you go, the finished product...
I said that the very start of this project was me wanting to do a tile backsplash and new hardware. The tile backsplash is still in the plans, but Luke said that unless I could promise with absolute certainty that all I would need from him was the occasional piece of advice, I needed to wait awhile because with the siding he is just too busy. So that is on the back burner for now, and that's ok. In the meantime, I'm already dreaming up painting projects for next summer, because I guess painting and summer are synonymous in my brain.
Happy Saturday!
"There's no place like home." ~The Wizard of Oz


